In my previous blog post, I discussed deploying Flink jobs on Kubernetes without using a Flink operator. While this approach was functional, it required manual actions to manage the Flink clusters. Today, we take a step further by adding Flink Operator on Kubernetes to orchestrate and manage the lifecycle of the Flink clusters efficiently.
Don’t forget to dive into the previous posts of the series Data as a Service:
Why Flink Kubernetes Operator
The Apache Flink documentation highlights the key aspects of the Flink Kubernetes Operator:
The Flink Kubernetes Operator extends the Kubernetes API with the ability to manage and operate Flink Deployments. The operator features the following amongst others:
- Deploy and monitor Flink Application and Session deployments
- Upgrade, suspend and delete deployments
- Full logging and metrics integration
- Flexible deployments and native integration with Kubernetes tooling
- Flink Job Autoscaler
If you have previously managed on-premises Flink clusters, ad-hoc Flink clusters, or ephemeral Flink clusters, where you were responsible for all of the deployment and management tasks, then you understand the effort required to achieve such a solution without the capabilities provided by the Flink Operator.
Data as a Service: Integrating Apache Flink
In this hands-on guide, I will explain how to integrate Flink Kubernetes Operator and use it to manage the Flink Clusters. The focus here is to have a functional approach for executing Flink jobs, while further blog posts will show how we can leverage Apache Flink for concrete scenarios.
Versions
- Minikube: 1.32.0
- Kubernetes: 1.28.3
- Flink Operator: 1.7.0
- Apache Flink: 1.17.0
- MinIO: RELEASE.2024–01–13T07–53–03Z
- Helm: 3.13.3
Prerequisites
You need to start minikube to have a local setup of Kubernetes, as a prerequisite you need to install minikube and ensure that exists a Docker container or a Virtual Machine environment.
Execute:
minikube start
Hands-on guide: Deploying MinIO
1 — Create a dedicated namespace on Kubernetes
kubectl create ns minio-dev
2 — Create the deployment of MinIO
apiVersion: apps/v1
kind: Deployment
metadata:
creationTimestamp: null
labels:
app: minio
name: deploy-minio
namespace: minio-dev
spec:
replicas: 1
selector:
matchLabels:
app: minio
strategy: {}
template:
metadata:
creationTimestamp: null
labels:
app: minio
spec:
volumes:
- name: localvolume
hostPath:
path: /mnt/disk1/data
type: DirectoryOrCreate
containers: - name: minio
image: quay.io/minio/minio:RELEASE.2024-01-13T07-53-03Z
command: - /bin/bash
- -c
args: - minio server /data –address :9000 –console-address :9090
volumeMounts: - mountPath: /data
name: localvolume
status: {}
This deployment will create one instance of MinIO (replicas: 1), exposing the WebUi on port9090 and the rest api will be available on port 9000.
Execute:
kubectl -n minio-dev create -f <yaml_file_containing_the_example_above>
3 — Expose the WebConsole and the Rest Api of MinIO internally
apiVersion: v1
kind: Service
metadata:
labels:
app: minio
name: minio-svc
namespace: minio-dev
spec:
ports:
- name: webconsole
port: 9090
protocol: TCP
targetPort: 9090 - name: api
port: 9000
protocol: TCP
targetPort: 9000
selector:
app: minio
type: ClusterIP
status:
loadBalancer: {}
In Kubernetes, there are [several ways to expose a service], and in this guide is used the ClusterIP method which will expose the minIO on an internal IP address that is only reachable within the Kubernetes cluster.
Execute:
kubectl -n minio-dev create -f <yaml_file_containing_the_example_above>
4 — External access to MinIO WebConsole
apiVersion: networking.k8s.io/v1
kind: Ingress
metadata:
name: minio-ingress
namespace: minio-dev
spec:
rules:
- http:
paths: - path: /
pathType: Prefix
backend:
service:
name: minio-svc
port:
number: 9090
To enable external access to the MinIO WebConsole, we will utilize an Ingress. There are more approaches, but we decided to use this one, due to the intrinsic advantages of using Ingress, which you can see here.
There is a requirement step to have the Ingress Controller enabled, you must execute the following command:
minikube addons enable ingress
Execute the following command to verify that the NGINX Ingress controller is running:
kubectl get pods -n ingress-nginx
Execute:
kubectl -n minio-dev create -f <yaml_file_containing_the_example_above>
5 — Accessing the MinIO WebConsole
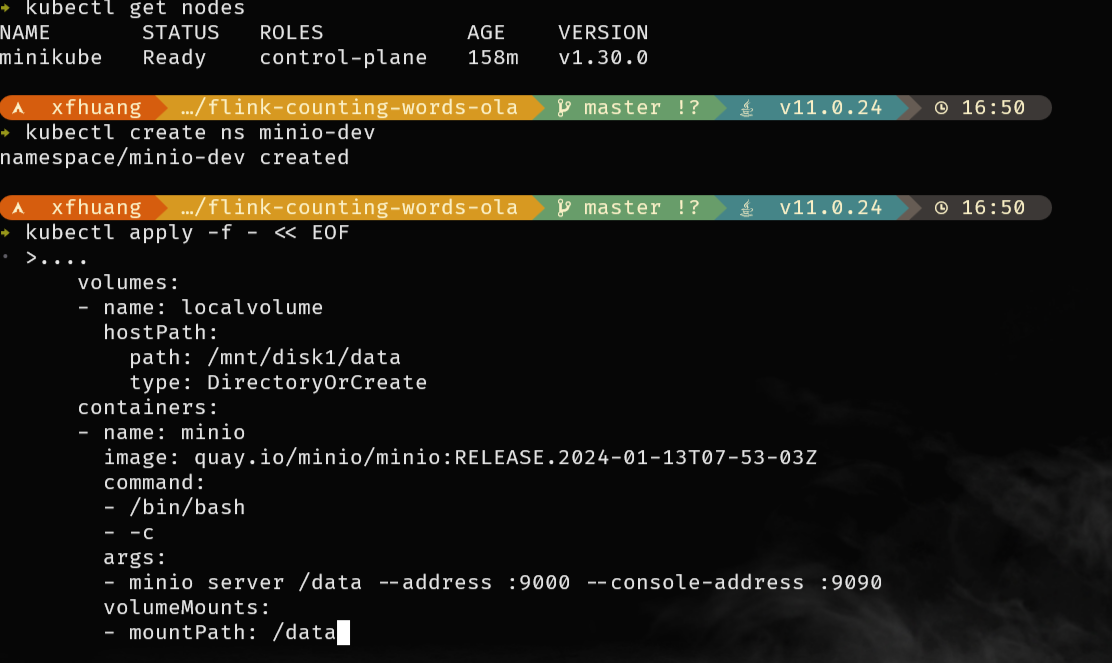 ![[image-20240725165530338.png]]
用 k9s 访问一下看看
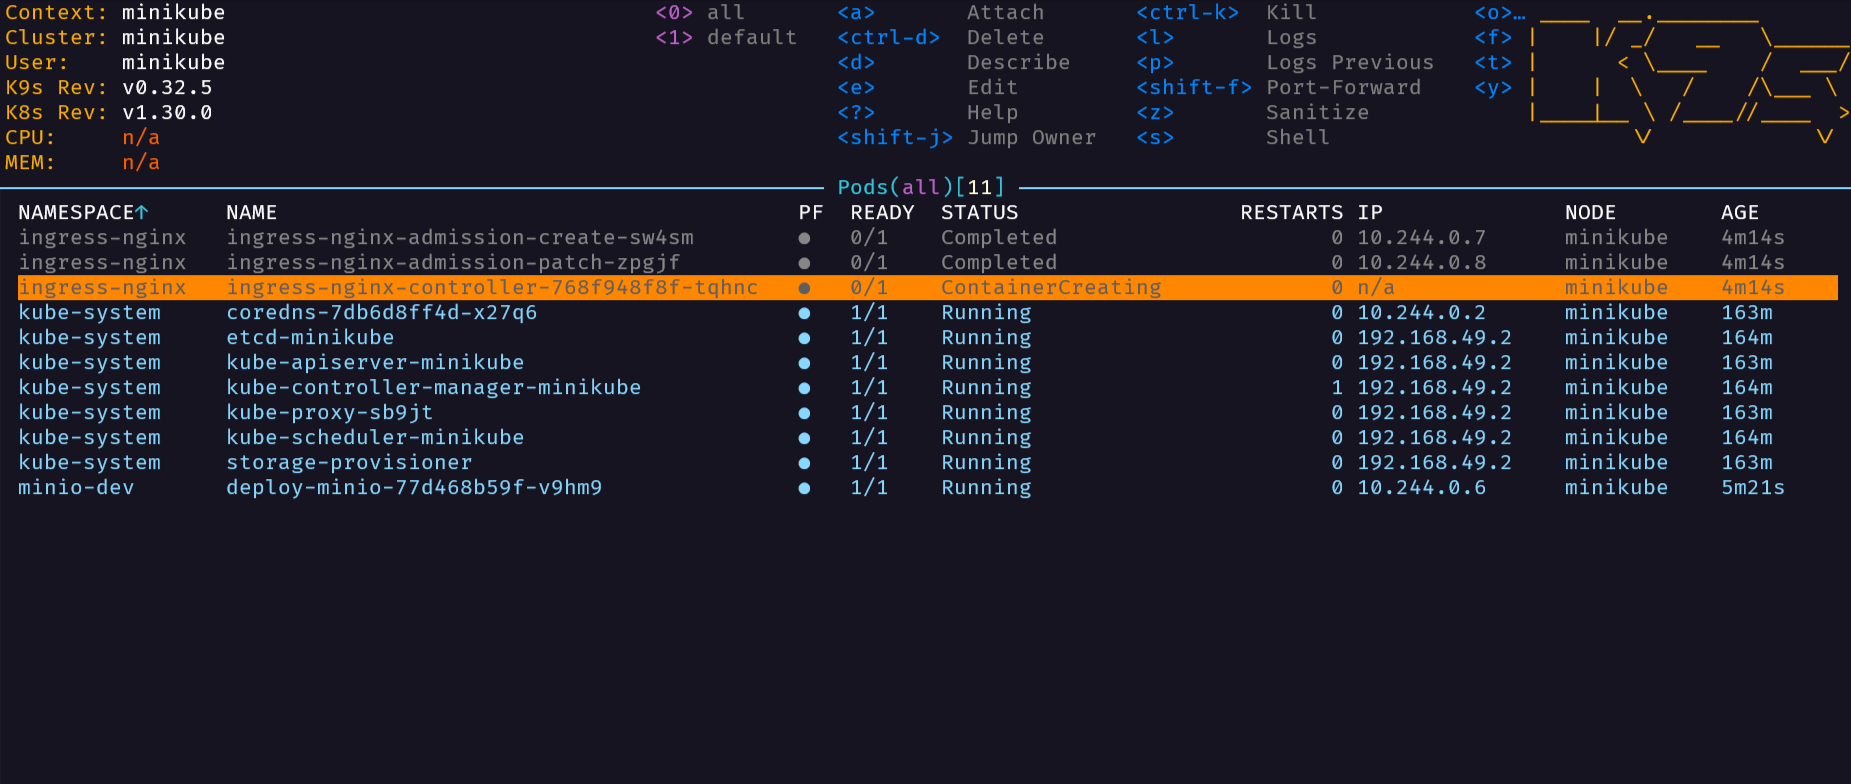 ![[image-20240725165659408.png]]
 ![[image-20240725170205247.png]]
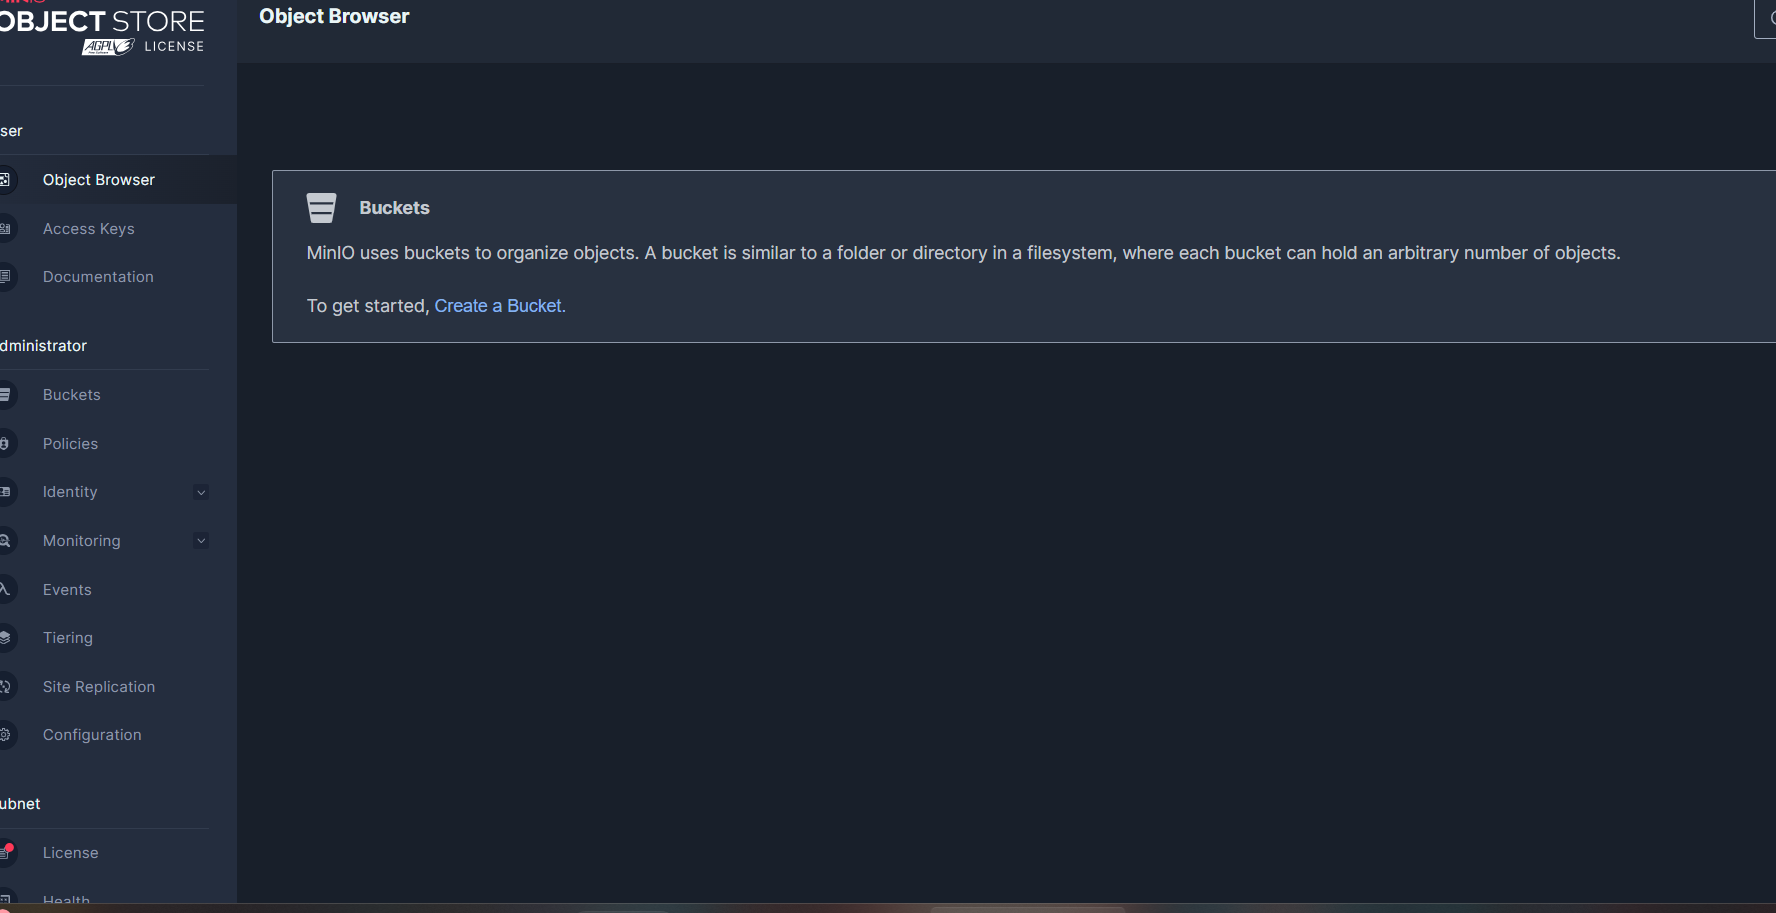
Open your web browser and enter the provided address, in this example, is 192.168.49.2. The MinIO user interface will then become accessible.
The default credentials are user: minioadmin and password: minioadmin. If you pretend to modify these credentials, which is highly recommended, you must set those environment variables.
You might wonder about the choice of MinIO in our configuration. In this setup, MinIO serves as the external storage solution for saving checkpoints, savepoints, and managing information related to the setup of high availability. As always you have other options to store this information such as AWS S3, GCS, or Azure Blob Storage
访问 minio 是访问不了,这个 ip 只能 minikube 的机器中可以访问,如果想访问,可以使用 minikube tunnel 进行访问,
然后可以通过 localhost 访问到节点如图所
Bonus
If you access the MinIO WebConsole through the Ingress, file uploads are limited to 1Mb and to overcome this restriction, modify the Ingress rule by adding the annotation nginx.ingress.kubernetes.io/proxy-body-size: 500m to allow uploads with a maximum file size of 500Mb
apiVersion: networking.k8s.io/v1
kind: Ingress
metadata:
name: minio-ingress
namespace: minio-dev
annotations:
nginx.ingress.kubernetes.io/proxy-body-size: 500m
spec:
rules:
- http:
paths: - path: /
pathType: Prefix
backend:
service:
name: minio-svc
port:
number: 9090
Hands-on guide: Deploying Flink Jobs
The fun part starts here :). 1 — Install Flink Kubernetes Operator
To install the operator we will use Helm, which is an open-source package manager for Kubernetes. If you don’t have it you need to follow this guide to install Helm.
Once you have Helm installed, you need to add the Flink Operator chart repository:
|
|
Useful commands:
- Once the repository is added, you will be able to list the charts you can install:
helm search repo flink-kubernetes-operator-1.7.0
- List all possible value settings for the chart of Flink Operator
helm show values flink-kubernetes-operator-1.7.0/flink-kubernetes-operator
You can explore the settings here to understand better what they mean and the purpose of the configs.
In our setup, some values will be overridden:
operatorServiceAccount:
create: true
annotations: {}
name: “flink-operator”
watchNamespaces: - “flink-jobs”
The Flink Operator listens for Flink Deployments only on the flink-jobs namespace, while the Flink Operator is installed in the flink-operator namespace. This separation allows the isolation of resources by being possible to apply restrictions to the namespaces to prevent future problems within the cluster. Keep in mind that deploying Flink jobs across multiple namespaces is also feasible, but insuch scenario it’s necessary to update the attribute watchNamespaces .
Storing the configuration above in a file named values.yaml you are able to finally create the Flink Operator by executing the following commands 🎉:
|
|
After executing the commands above, you will see the Flink Operator running with success:
|
|
2 — Deploy a Flink Job
To deploy a simple Flink job using the Flink Operator with local disk storage for checkpoints/savepoints, please note that if the disk is ephemeral all state will be lost. Simply create a definition similar to the following:
apiVersion: flink.apache.org/v1beta1
kind: FlinkDeployment
metadata:
namespace: flink-jobs
name: basic-example-1
spec:
image: flink-1:1.17
flinkVersion: v1_17
flinkConfiguration:
taskmanager.numberOfTaskSlots: “1”
state.savepoints.dir: s3://test/savepoins
state.checkpoints.dir: s3://test/checkpoints
s3.endpoint: http://minio-svc.minio-dev:9000
s3.path.style.access: “true”
s3.access-key: minioadmin
s3.secret-key: minioadmin
ingress:
template: “/{{namespace}}/{{name}}(/|$)(.*)”
className: “nginx”
annotations:
nginx.ingress.kubernetes.io/rewrite-target: “/$2”
serviceAccount: flink
jobManager:
resource:
memory: “100m”
cpu: 0.5
taskManager:
resource:
memory: “100m”
cpu: 0.5
job:
jarURI: local:///opt/flink/examples/streaming/StateMachineExample.jar
parallelism: 1
state: running
100m 不能触发任务,因为 flink 的内存计算机制,至少 1g 的 memory 才可以运行。 This definition will create a single JobManager, a TaskManager with one slot, and a Flink Job with a parallelism of 1. Due to the instantion of MinIO it’s possible to store the the checkpoints and savepoints in MinIO.
The Ingress section above is to automate the creation of the Ingress to allow the external UI access. To access the UI, open the browser and navigate to the endpoint [http://ip/flink-jobs/basic-example/](http://ip/flink-jobs/basic-example/) .
Attention
Starting in Version 0.22.0, ingress definitions using the annotation
nginx.ingress.kubernetes.io/rewrite-targetare not backwards compatible with previous versions. In Version 0.22.0 and beyond, any substrings within the request URI that need to be passed to the rewritten path must explicitly be defined in a capture group.
文档上给出了非常明显的警告 ⚠️:从 V0.22.0 版本开始将不再兼容之前的入口定义,再查看一下我的 nginx-ingress-controller 版本,果然问题出现来这里。
Note
Captured groups are saved in numbered placeholders, chronologically, in the form
$1,$2…$n. These placeholders can be used as parameters in therewrite-targetannotation.ingress 访问也遇到问题,无法正常访问 flink,出现这个问题的原因是重定向出问题了,新版本的 ingress 升级了,之前的策略不生效。解决办法如下:
|
|
note: To know the ip address double-check the section Accessing the MinIO WebConsole .
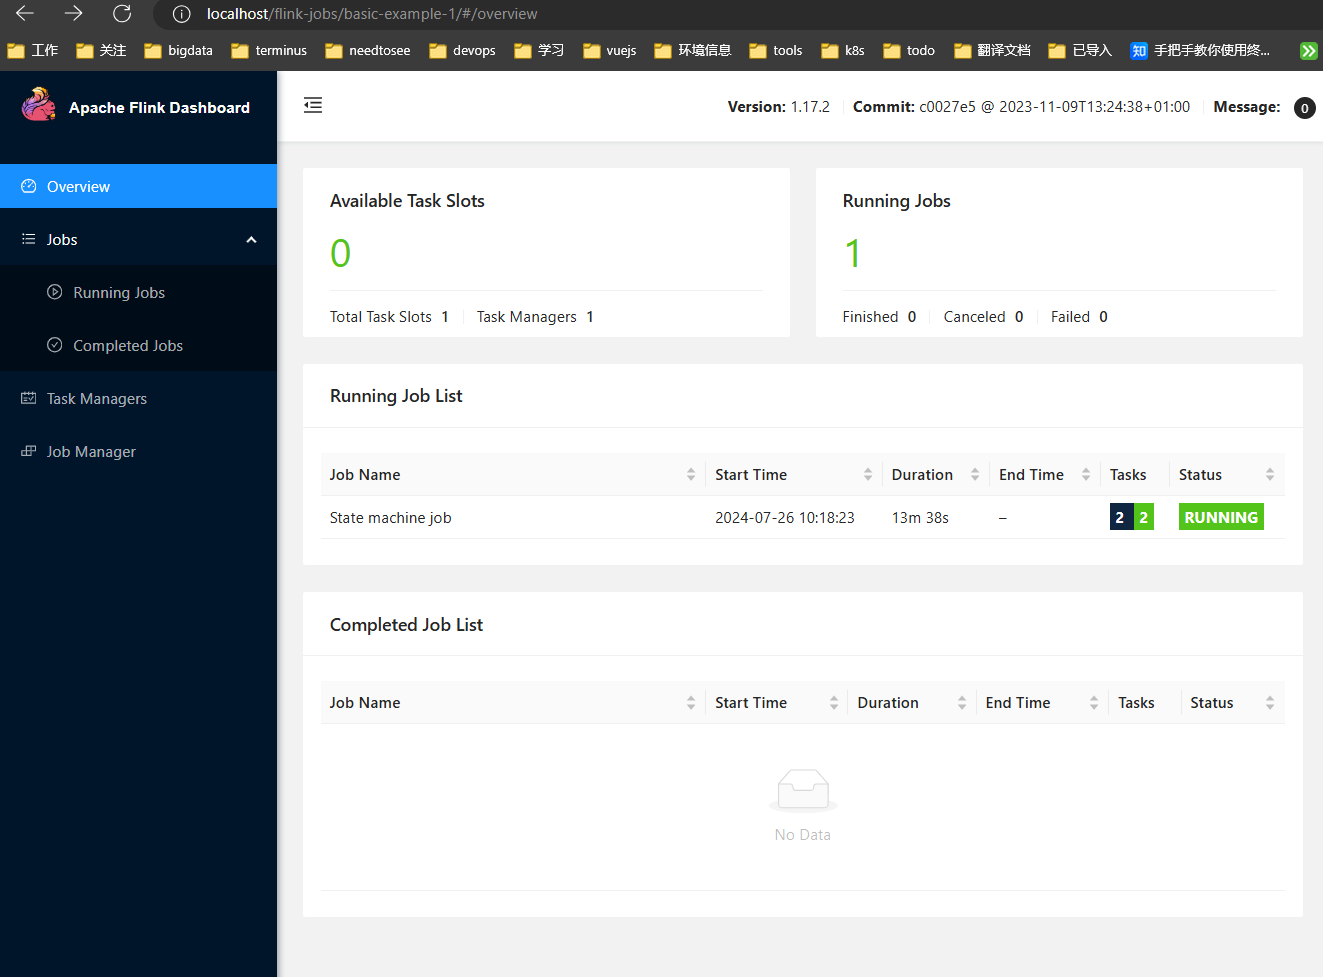
访问 localhost,是因为可以开启 minikube tunnel,才可以进行访问
Flink UI
Congratulations! 🎉🥳 You now have a Flink Job running through Flink Operator. By using a similar setup, you unlock numerous advantages, ensuring a streamlined experience for your infrastructure clients and reducing their work a lot.
In this guide you are able to understand the internal concepts of Flink and Kubernetes.
Bonus 1
If you have an eagle eye, you notice that the image used is flink-1:1.17 . This is because the utilization of the S3 schema for storing checkpoints and savepoints, and to make use the S3 schema, it’s required to include the necessary plugins, flink-s3-fs-hadoop. In this scenario, it was used a custom Flink image to enable the mandatory plugins.
|
|
In the documentation are explained the available approaches.
Bonus 2
If you don’t need to use a custom Flink image, it’s possible to enable the plugins using an environment variable, ENABLE_BUILT_IN_PLUGINS:
apiVersion: flink.apache.org/v1beta1
kind: FlinkDeployment
metadata:
namespace: flink-jobs
name: basic-example
spec:
image: flink:1.17
flinkVersion: v1_17
podTemplate:
apiVersion: v1
kind: Pod
metadata:
name: pod-template
spec:
containers:
- name: flink-main-container
env: - name: ENABLE_BUILT_IN_PLUGINS
value: flink-s3-fs-hadoop-1.17.2.jar
flinkConfiguration:
taskmanager.numberOfTaskSlots: “1”
state.savepoints.dir: s3://test/savepoins
state.checkpoints.dir: s3://test/checkpoints
s3.endpoint: http://minio-svc.minio-dev:9000
s3.path.style.access: “true”
s3.access-key: minioadmin
s3.secret-key: minioadmin
ingress:
template: “/{{namespace}}/{{name}}(/|$)(.*)”
className: “nginx”
annotations:
nginx.ingress.kubernetes.io/rewrite-target: “/$2”
serviceAccount: flink
jobManager:
resource:
memory: “1000m”
cpu: 0.5
taskManager:
resource:
memory: “1000m”
cpu: 0.5
job:
jarURI: local:///opt/flink/examples/streaming/StateMachineExample.jar
parallelism: 1 upgradeMode: savepoint state: running
Bonus 3
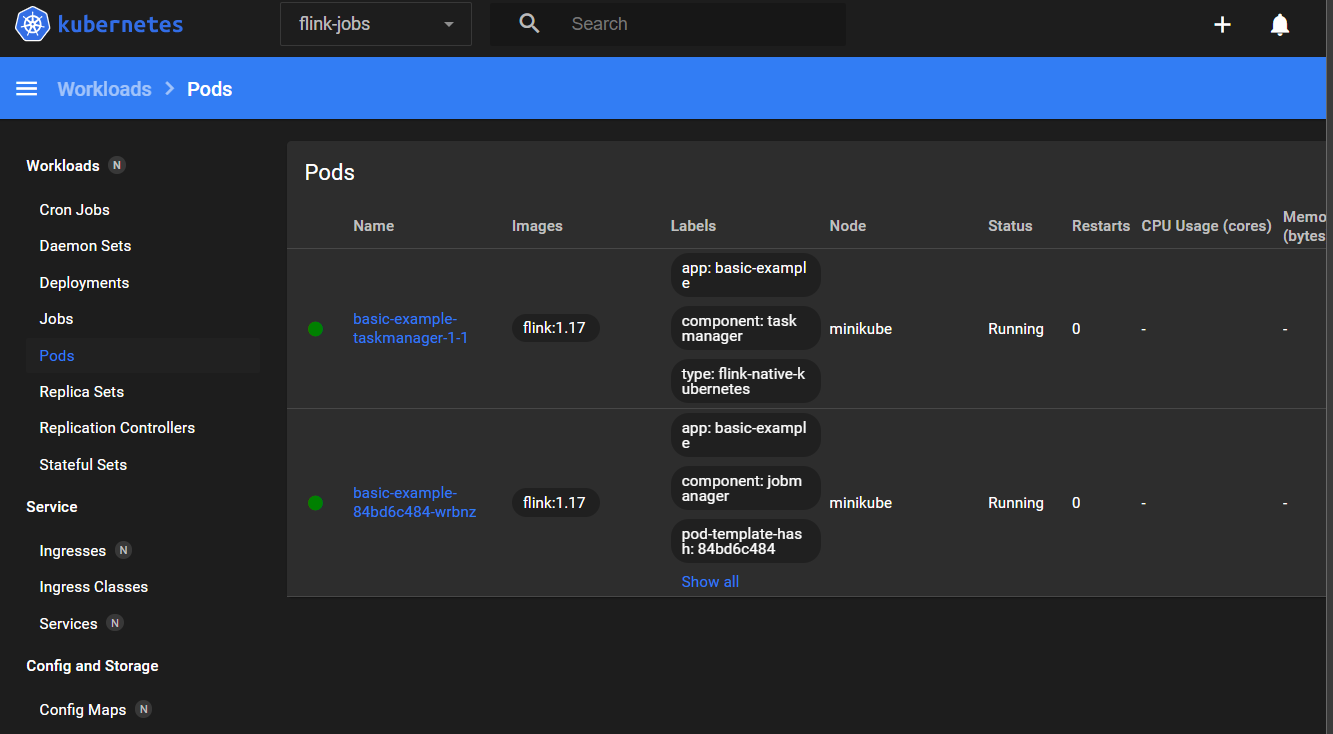
In order to simplify the management of Kubernetes Cluster and to be easy to undertand what going on, consider install the Kubernetes Dashboard and here exists a guide describing the steps to create an user to access the Kubernetes Dasboard.
 ![[image-20240726110647464.png]]
Kubernetes Dashboard
In the next series I will delve into the common issues and tips for optimizing your Flink applications and deploys.