第一步先下载代码:
第二步找构建文档,地址为https://github.com/apache/shardingsphere/wiki
接下来继续进行编译,找到编译命令和要求:
要求 jdk11 以上,本次编译通过 jdk18 进行
1
|
./mvnw clean install -Prelease -T1C -DskipTests -Djacoco.skip=true -Dcheckstyle.skip=true -Drat.skip=true -Dmaven.javadoc.skip=true -B
|
用 idea 打开后,出现报错,需要设置 source 文件,org.apache.shardingsphere.distsql.parser.autogen 这个包名在 idea 中找不到请在编译后到下图的目录中找到并右键标记为 source root 即可:

第二步进行测试:
测试过程一波三折呀,第一步启动 docker 服务,我使用的是 pg 的底座。
1
2
|
cd examples/docker/sharding/
docker-compose up -d
|
注意这里有两个坑,第一次启动会启动一个服务 postgres,另一个服务没有启动起来,接着你再启动一次,就可以了。
1
2
3
4
5
|
🌈 psql -d sharding_db -h 127.0.0.1 -U root -p 3308 -W
Password:
psql: error: connection to server at "127.0.0.1", port 3308 failed: server closed the connection unexpectedly
        This probably means the server terminated abnormally
        before or while processing the request.
|
进入查询日志,发现报错,报错信息如下org.yaml.snakeyaml.error.YAMLException: Unable to find property 'authority' on class: org.apache.shardingsphere.proxy.config.yaml.YamlProxyServerConfiguration,这个代表配置文件不对;
接下来是如何对其进行处理了,解决思路可以从 docker 中取出配置文件修改。
1
2
|
docker run -d  apache/shardingsphere-proxy\n
docker cp 91d2693cbb9ce5937548bef50d418f39c30331ff68c55db8079b3f7d8035c9c5:/opt/shardingsphere-proxy/conf ./conf2
|
再 conf2 下,我们看到如下文件:
 1
 2
 3
 4
 5
 6
 7
 8
 9
10
11
12
13
14
15
16
17
18
|
shardingsphere-proxy
├── governance
│   ├── docker-compose.yml
│   ├── run.sh
│   └── stop.sh
└── sharding
    ├── conf
    │   ├── config-sharding.yaml
    │   └── server.yaml
    ├── conf2
    │   ├── config-database-discovery.yaml
    │   ├── config-encrypt.yaml
    │   ├── config-readwrite-splitting.yaml
    │   ├── config-shadow.yaml
    │   ├── config-sharding.yaml
    │   ├── logback.xml
    │   └── server.yaml
    └── docker-compose.yml
|
比对 server.yaml 和 config-sharding.yaml 文件
 1
 2
 3
 4
 5
 6
 7
 8
 9
10
11
12
13
14
15
16
17
18
19
20
21
|
git diff server.yaml
+#authority:
+#  users:
+#    - user: root
+#      password: root
+#  privilege:
+#    type: ALL_PERMITTED
+rules:
+  - !AUTHORITY
+    users:
+      - root@%:root
+      - sharding@:sharding
+    provider:
+      type: ALL_PRIVILEGES_PERMITTED
 props:
   max-connections-size-per-query: 1
   kernel-executor-size: 16  # Infinite by default.
   proxy-frontend-flush-threshold: 128  # The default value is 128.
-  sql-show: true
+  sql-show: true
\ No newline at end of file
|
 1
 2
 3
 4
 5
 6
 7
 8
 9
10
11
12
13
|
diff --git a/examples/docker/shardingsphere-proxy/sharding/conf/config-sharding.yaml b/examples/docker/shardingsphere-proxy/sharding/conf/config-sharding.yaml
index 4a9a1b5531c..bdfdbeaa164 100644
--- a/examples/docker/shardingsphere-proxy/sharding/conf/config-sharding.yaml
+++ b/examples/docker/shardingsphere-proxy/sharding/conf/config-sharding.yaml
@@ -22,7 +22,7 @@
 #
 ######################################################################################################

-databaseName: sharding_db
+schemaName: sharding_db

 dataSources:
   ds_0:
|
通过 sharding-jdbc 连接数据库来操作了:
1
2
3
4
5
6
7
8
9
|
 psql -d sharding_db -h 127.0.0.1 -U root -p 3308 -W
 sharding_db=> create table t_order(user_id int, order_id int primary key);
CREATE TABLE
sharding_db=> insert into t_order values(1, 1);
insert into t_order values(2, 1);
insert into t_order values(1, 2);
insert into t_order values(2, 2);
insert into t_order values(1, 3);
insert into t_order values(2, 3);
|
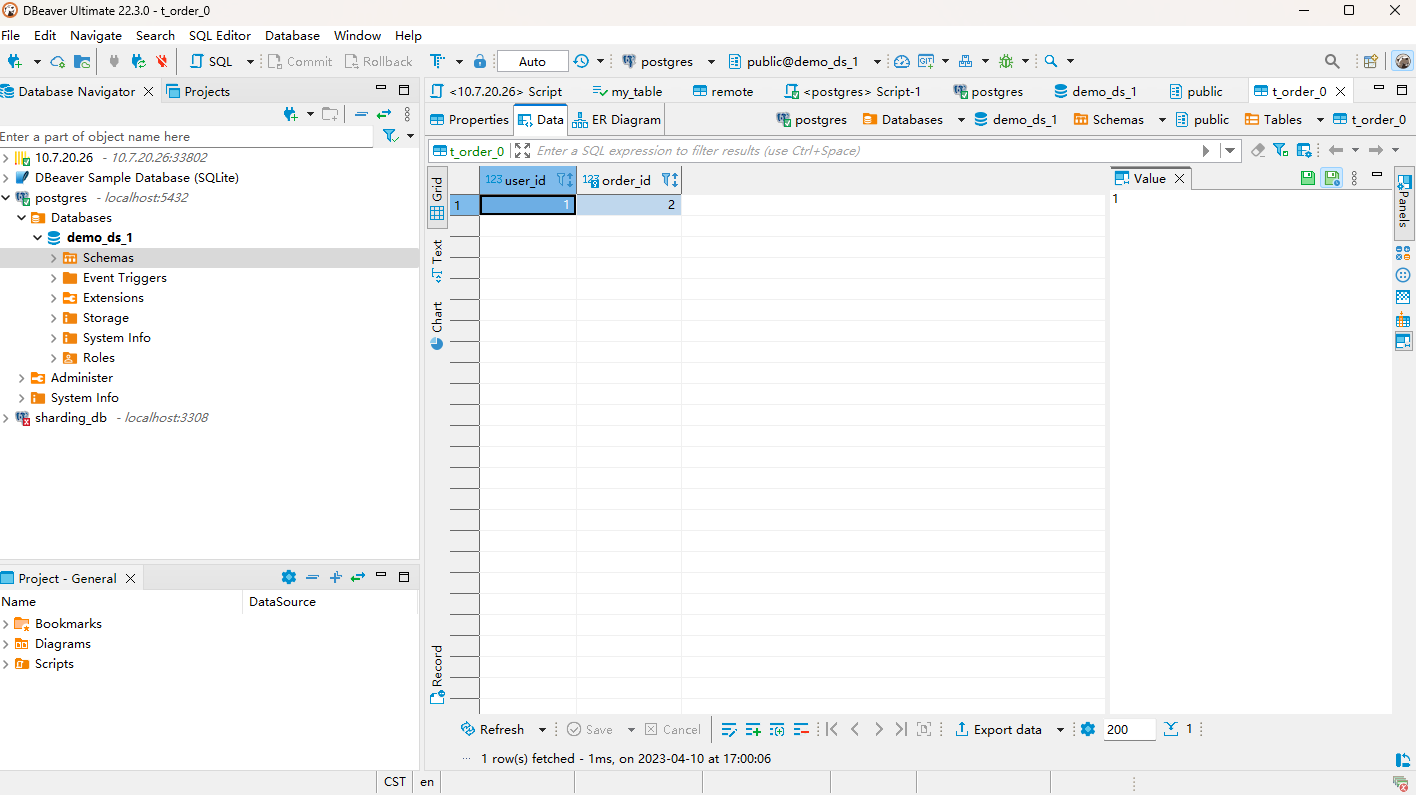
然后通过 dbeaver 取连接 demo_ds_1 数据库可以看见创建了 t_order_1 和 t_order_0,查看其中一个表,就可以发现数据