部署 clickhouse 分两步:
1.安装 operator
1
2
3
|
 helm repo add ck https://radondb.github.io/radondb-clickhouse-kubernetes/
 helm repo update
 helm install clickhouse-operator ck/clickhouse-operator -n kube-system
|
2.安装 cluster
1
2
3
4
5
|
#需要下载cluster来进行参数设置
 helm  pull  ck/clickhouse-cluster
# 查看下载的压缩包为clickhouse-cluster-v2.1.2.tgz
#解压压缩包
tar -zxvf clickhouse-cluster-v2.1.2.tgz
|
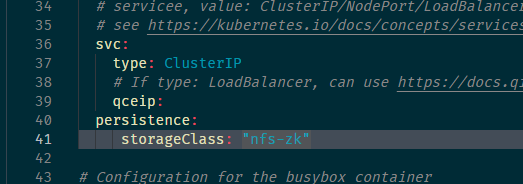
接下来对 clickhouse-cluster/values.yaml 进行参数设置
 1
 2
 3
 4
 5
 6
 7
 8
 9
10
11
12
13
14
15
16
17
18
19
20
21
22
23
24
25
26
27
28
29
30
31
32
33
34
35
36
37
38
39
40
41
42
43
44
45
46
47
48
49
50
51
52
53
54
55
56
57
58
59
60
61
62
63
64
65
66
67
68
|
# Configuration for the ClickHouse cluster to be started
clickhouse:
  # default cluster name
  clusterName: all-nodes
  # shards count can not scale in this value.
  shardscount: 1
  # replicas count can not modify this value when the cluster has already created.
  replicascount: 2

  # ClickHouse server image configuration
  image: radondb/clickhouse-server:21.1.3.32
  imagePullPolicy: IfNotPresent

  resources:
    memory: "1Gi"
    cpu: "0.5"
    storage: "10Gi"

  # User Configuration
  user:
    - username: clickhouse
      password: c1ickh0use0perator
      networks:
        - "127.0.0.1"
        - "::/0"

  ports:
    # Port for the native interface, see https://clickhouse.tech/docs/en/interfaces/tcp/
    tcp: 9000

    # Port for HTTP/REST interface, see https://clickhouse.tech/docs/en/interfaces/http/
    http: 8123

  # servicee, value: ClusterIP/NodePort/LoadBalancer
  # see https://kubernetes.io/docs/concepts/services-networking/service/#publishing-services-service-types
  svc:
    type: ClusterIP
    # If type: LoadBalancer, can use https://docs.qingcloud.com/product/container/qke/index#%E4%B8%8E-qingcloud-iaas-%E7%9A%84%E6%95%B4%E5%90%88
    qceip:
  persistence:
     storageClass: "nfs-zk"

# Configuration for the busybox container
busybox:
  image: busybox
  imagePullPolicy: IfNotPresent

# required, zookeeper configuration
zookeeper:
  # If you want to create ZooKeeper cluster by operator, use the following configuration
  install: true
  replicas: 3
  port: 2181
  image: radondb/zookeeper:3.6.1
  imagePullPolicy: IfNotPresent
  persistence:
     storageClass: "nfs-zk"

  # If you don’t want Operator to create a ZooKeeper cluster, we also provide a ZooKeeper deployment file,
  # you can customize the following configuration.
  # install: false
  # replicas: specify by yourself
  # image: radondb/zookeeper:3.6.2
  # imagePullPolicy: specify by yourself
  # resources:
  #   memory: specify by yourself
  #   cpu: specify by yourself
  #   storage: specify by yourself
|


接下来进行安装
1
2
|
cd clickhouse-cluster
helm install  clickhouse ./  --values  ./values.yaml  -n ck
|
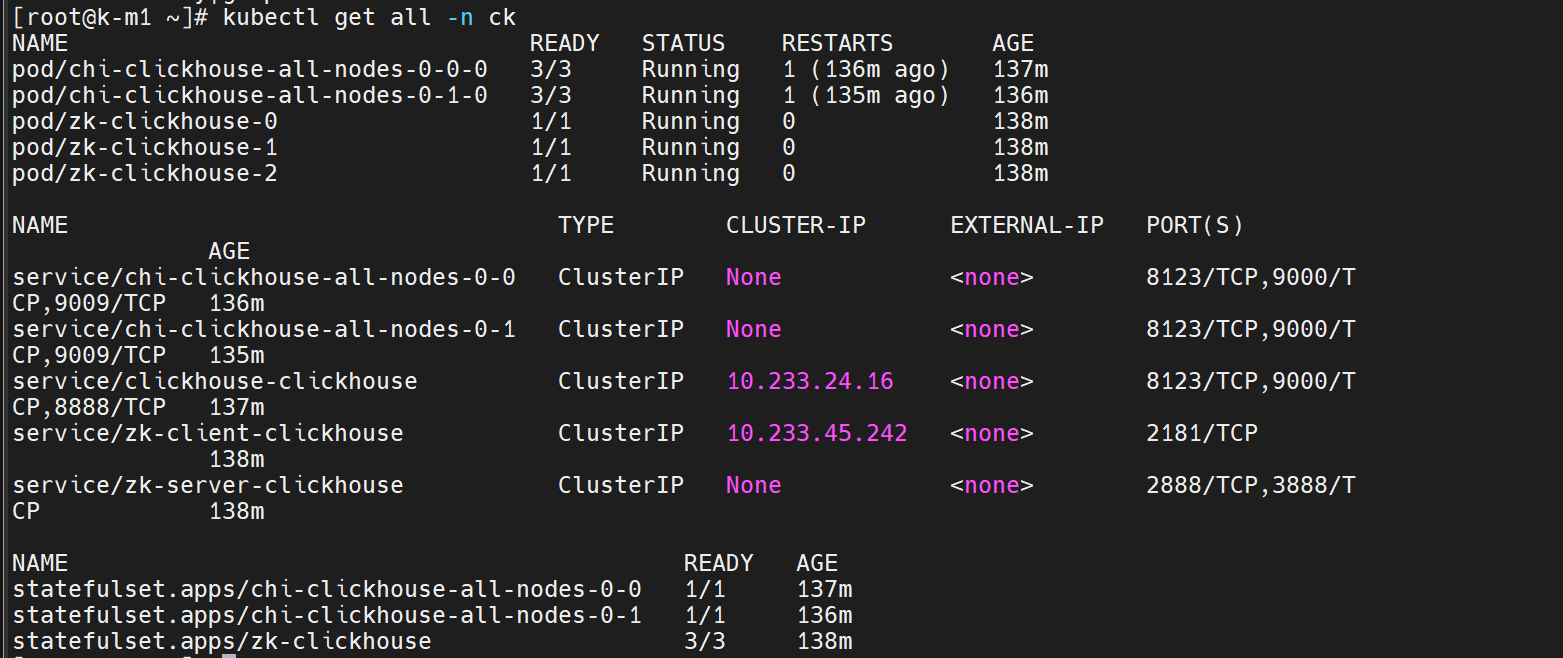
接下来查看安装

硬盘扩容
同样的,如果需要给 ClickHouse Pods 进行扩容,也只需修改 CR 即可。
1
2
3
4
5
6
|
$ kubectl get chi -n ck
NAME         CLUSTERS   HOSTS   STATUS
clickhouse   1          8       Completed

$ kubectl edit chi/clickhouse -n ck
复制代码
|
以修改存储容量为 20 Gi 为例。
 1
 2
 3
 4
 5
 6
 7
 8
 9
10
|
volumeClaimTemplates:
- name: data
  reclaimPolicy: Retain
  spec:
    accessModes:
    - ReadWriteOnce
    resources:
      requests:
        storage: 20Gi
复制代码
|
修改成功后,Operator 将自动申请扩容,重建 StatefulSet,并挂载扩容后的硬盘。
通过查看集群的 PVC 挂载情况,可以看到硬盘已经更新为 20Gi 容量。
1
2
3
4
5
6
7
|
$ kubectl get pvc -n clickhouse
NAME                                          STATUS   VOLUME   CAPACITY   ACCESS MODES
data-chi-clickhouse-cluster-all-nodes-0-0-0   Bound    pv4      20Gi       RWO
data-chi-clickhouse-cluster-all-nodes-0-1-0   Bound    pv5      20Gi       RWO
data-chi-clickhouse-cluster-all-nodes-1-0-0   Bound    pv7      20Gi       RWO
data-chi-clickhouse-cluster-all-nodes-1-1-0   Bound    pv6      20Gi       RWO
...
|
参考文档:
https://juejin.cn/post/6997227333757173768


